

Why Drainage Matters Behind Retaining Walls

By  July 7, 2026

A retaining wall is not just the visible blocks, stone, concrete, or structure you see from the front. What happens behind and around the wall matters just as much. Water, soil, backfill, slope, and drainage all affect how the wall area performs after rain.


When drainage is ignored, water can collect behind the wall, soften soil, increase pressure, cause erosion, and create ongoing maintenance problems around the site. Proper excavation, backfill, grading, and drainage planning help the wall area work better with the property around it.


This guide explains why drainage matters behind retaining walls and what property owners should consider before or during wall-related dirt work.


Retaining Walls Need a Place for Water to Go

Soil holds water after rain. If water builds up behind a retaining wall, it can add weight and pressure to the wall area. Even when a wall is built with strong materials, the surrounding dirt work still matters.


Drainage helps by giving water a planned path away from the wall instead of allowing it to sit behind it or move through weak spots.


Good wall drainage planning may help reduce:


  • Water pressure behind the wall
  • Soft or saturated backfill
  • Erosion at the base or outlet
  • Water collecting around nearby pads, driveways, or slopes
  • Soil movement behind or around the wall
  • Repeated washouts near the wall area


The wall should be planned as part of the entire slope and drainage system, not as a standalone object.


Signs Drainage Around a Retaining Wall May Be a Problem

Drainage problems around retaining walls often show up after repeated rain. Some signs are visible on the wall, while others appear in the soil, slope, or nearby surface.


Watch for:


  • Standing water behind or near the wall
  • Wet, soft, or sinking soil around the wall area
  • Erosion at the base, sides, or outlet
  • Soil washing out from behind or around the wall
  • Water flowing over the top or around the ends of the wall
  • Driveway, pad, or surface areas nearby staying wet
  • Cracks, movement, leaning, or uneven sections in the wall area
  • Runoff concentrating at one point instead of spreading or exiting properly


If water keeps showing up around the wall, the drainage path may need to be reviewed.


What Proper Retaining Wall Dirt Work May Include

The exact dirt work depends on the wall, soil, slope, water flow, and property use. Some retaining wall projects involve more than setting wall materials in place.


Wall-related dirt work may include:


Excavation

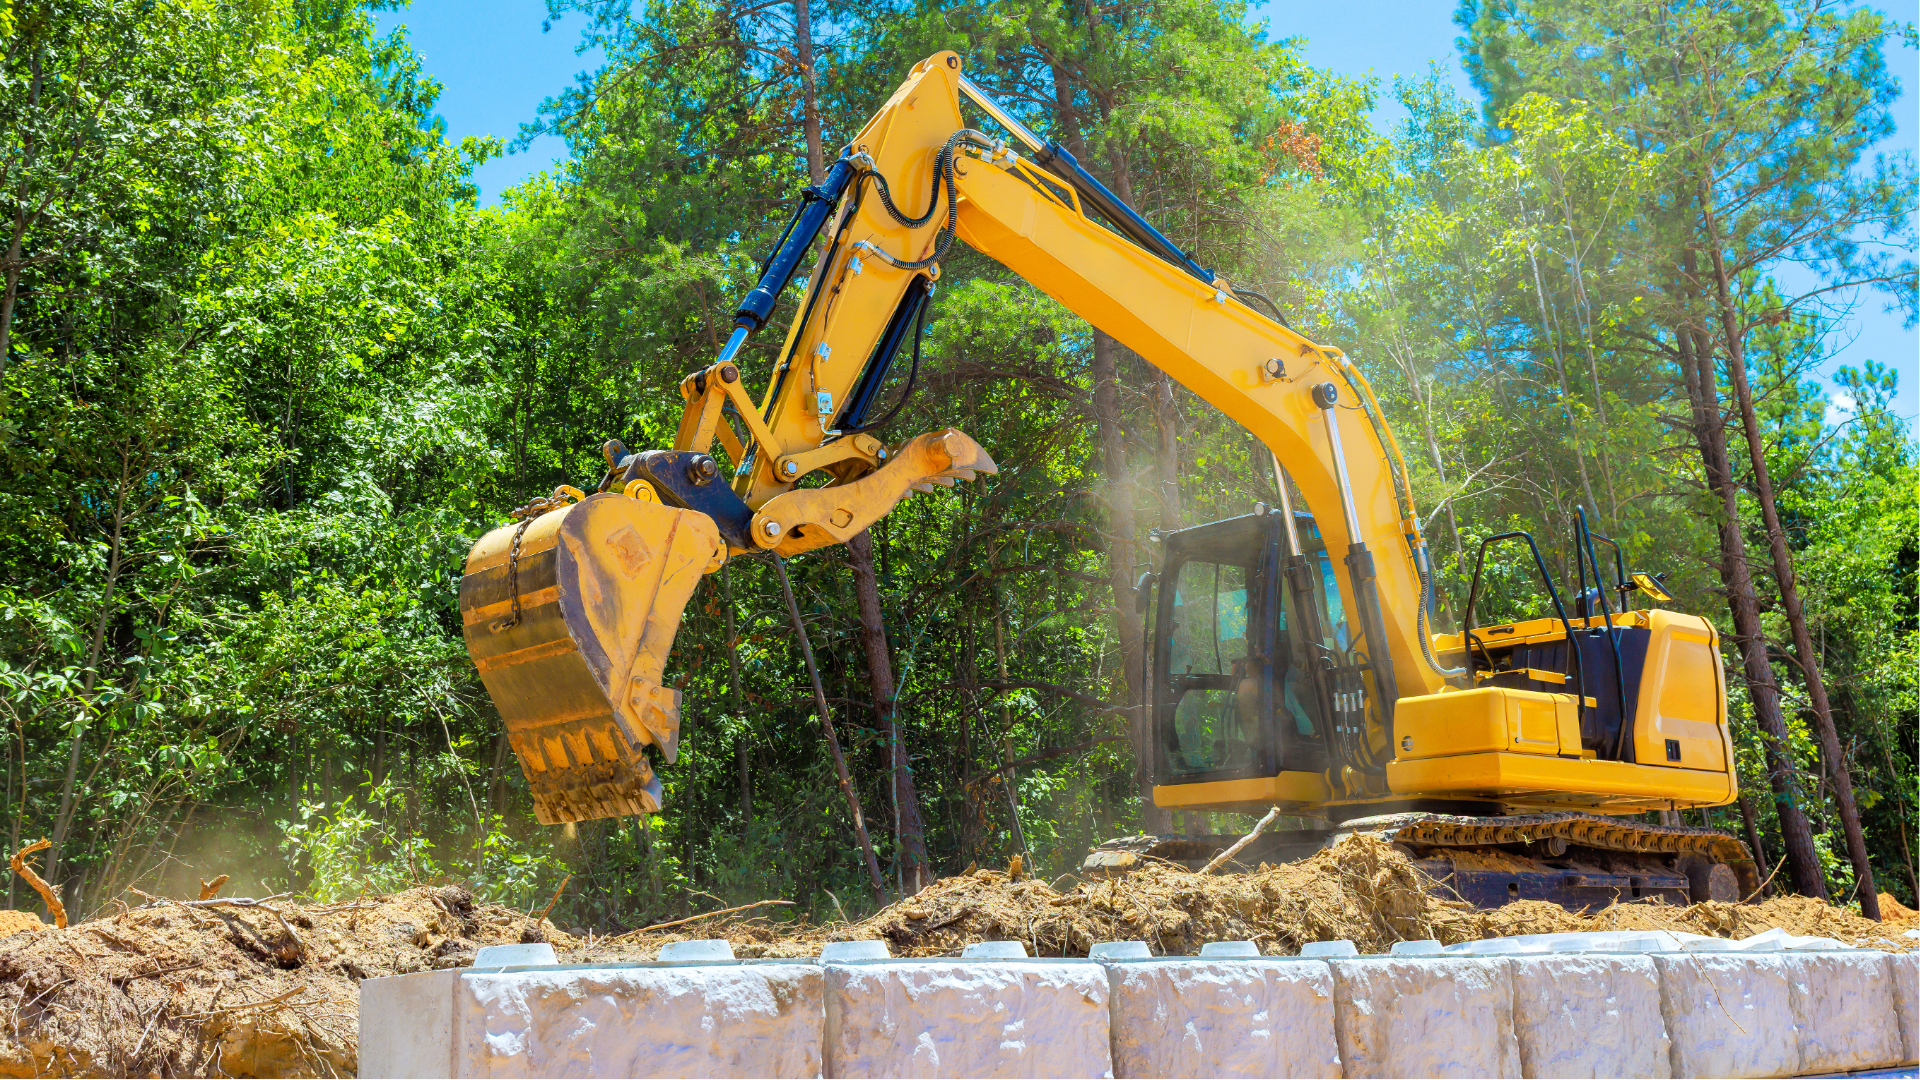
The wall area may need to be excavated to create room for the wall base, drainage zone, backfill, and work area.


Drainage Stone or Backfill

Free-draining material may be needed behind the wall so water can move instead of sitting in heavy soil.


Drainage Pipe and Outlet Planning

A pipe or outlet may be needed to collect and move water away from the wall. The outlet should be placed where water can exit without creating erosion.


Regrading Around the Wall

The area above, around, and below the wall may need to be shaped so runoff does not overload the wall or collect in the wrong place.


Erosion Control

Riprap, rock, outlet protection, slope stabilization, or runoff diversion may be needed where water exits or concentrates.


Backfill and Compaction

Backfill should be placed and handled with the wall, drainage, and final grade in mind.


How Water Creates Retaining Wall Problems

Water can affect a retaining wall in more than one way. It can collect behind the wall, run over it, move around it, erode below it, or soften the soil supporting nearby areas.


Common water-related issues include:


  • Runoff flowing toward the wall instead of away from it
  • Heavy soil holding water behind the wall
  • No outlet for drainage behind the wall
  • Water exiting in a way that erodes the base or slope
  • Poor grading that sends water to the wall after every rain
  • Driveway or roof runoff concentrating behind the wall
  • Soft ground forming near the wall after repeated storms


A drainage plan should consider both the water behind the wall and the water around the wall.


Plan Drainage Before the Wall Is Finished

The best time to plan retaining wall drainage is before the wall is completed. Once the wall is in place, drainage problems can be harder to fix without disturbing finished work.


Before wall work begins, review:


  • Where water currently flows during rain
  • Whether water is coming from a driveway, roof, slope, ditch, or higher ground
  • How water will leave the area behind the wall
  • Whether the wall needs drainage pipe or outlet protection
  • What backfill material should be used
  • How the grade above and below the wall should be shaped
  • Whether the area connects to a driveway, pad, building, parking area, or slope


A wall is easier to protect when the drainage path is planned early.


Common Retaining Wall Drainage Mistakes

Wall problems often come from treating drainage as a small detail instead of part of the wall system.


Common mistakes include:


  • Backfilling with material that holds too much water
  • Forgetting a drainage outlet
  • Sending runoff toward the wall from the top side
  • Letting water exit at one point without erosion protection
  • Ignoring grading above and below the wall
  • Building the wall before understanding the slope and water path
  • Assuming the visible wall material solves the drainage problem by itself


A retaining wall area needs to manage soil and water together.

Services

Related Services

Erosion Control & Retaining Walls

Slope stabilization, washout repair, riprap, outlet protection, retaining wall excavation, wall drainage, backfill, and regrading.

Drainage, Culverts & Stormwater

Culverts, drainage pipe, ditches, swales, runoff correction, standing water solutions, and water flow planning.

Excavation & Site Prep

Wall excavation, trenching, cut/fill, backfill, compaction, site shaping, and preparation around retaining wall areas.

Grading & Leveling

Slope correction, drainage grading, rough grading, finish grading, land shaping, and regrading around walls and slopes.

Hauling & Material Work

Rock, gravel, fill, riprap, drainage stone, spoils removal, material delivery, spreading, and cleanup support.

Planning Dirt Work Around a Retaining Wall?

B5B Services can help with retaining wall excavation, drainage, backfill, regrading, erosion control, material hauling, and water-flow planning around wall areas.

Request Help With Retaining Wall Drainage or Erosion

Tell us where the property is, what is happening around the wall or slope, and how water is affecting the area. Photos after rain can be helpful.

Latest Blogs

July 7, 2026
Material hauling is one of the pieces that can make or slow down a dirt work project. A site may need gravel delivered, fill dirt brought in, spoils hauled away, brush removed, concrete debris cleaned up, or rock spread before the next phase can happen. Hauling is not just a final cleanup step. It can affect access, timing, grading, drainage, pad prep, driveway work, demolition, clearing, and whether the site is ready for the next contractor or use. This guide explains when hauling should be planned into a dirt work project and why it matters. Dirt Work Usually Creates or Requires Material Movement Most dirt work projects involve moving material in, out, or around the site. If that movement is not planned, work can stop while the site waits for rock, fill, gravel, cleanup, or debris removal. Hauling may be needed when a project involves: Land clearing Excavation and trenching Grading and leveling Driveway or road work Building pad prep Drainage correction Concrete or asphalt tear-out Demolition and structure removal Parking area or commercial site prep Final cleanup after equipment work Planning hauling early helps keep the project moving in the right order. When Material Needs to Be Brought In Some projects cannot move forward without the right material on site. Delivery timing matters because grading, spreading, base prep, and compaction often depend on having the correct material available. Material may need to be brought in for: Gravel driveways or access roads Base rock for pads, parking areas, or surfaces Fill dirt for low areas or site balancing Sand, rock, or topsoil depending on project needs Riprap or rock for erosion control and outlet protection Material for construction entrances or temporary access Parking area, driveway, or concrete/asphalt prep Material should be delivered where equipment can access it and where it will not block the next phase of work. When Material Needs to Be Hauled Off Other projects create material that needs to leave the site. If unwanted material is left in the way, it can block access, delay grading, prevent pad prep, or leave the property unfinished. Material may need to be hauled off after: Brush clearing or tree removal Demolition or structure removal Concrete or asphalt tear-out Excavation or trenching Drainage work Grading and cut/fill work Cleanup of old debris, rock, dirt, or mixed material Spoils, brush, concrete, asphalt, debris, and unusable material should be handled as part of the project scope when possible. Trucks Need Access Before Hauling Can Work Hauling depends on access. Even if material is ready to move, trucks need a safe and practical route to enter, unload, turn around, and leave. Before hauling, consider: Is the driveway or entrance wide enough? Can trucks reach the work area? Is the ground firm enough after rain? Are there gates, fences, trees, or tight turns in the way? Is a culvert or construction entrance needed first? Where should material be staged or dumped? Will hauling traffic damage an existing driveway or soft access route? Access should be reviewed before delivery or removal is scheduled. Delivery Is Not Always the Final Step Material delivery does not automatically mean the material is ready to use. Gravel, rock, fill, and base material often need to be spread, shaped, compacted, or placed with equipment. Material placement may be needed for: Driveway resurfacing Access road base Building pad fill or base material Parking area prep Drainage rock or riprap placement Low area fill Construction entrance stabilization Final site cleanup and smoothing Planning spreading and placement helps avoid piles of material sitting in the wrong spot or blocking the project. Hauling Should Match the Dirt Work Sequence Hauling can happen at several points in the project, not just at the end. Examples : Brush hauling may happen after land clearing before grading begins. Spoils removal may happen during excavation or trenching. Gravel delivery may happen after drainage and grading are corrected. Base material may be delivered before pad compaction or concrete prep. Concrete debris may need hauling before new surface prep begins. Final cleanup may happen after the site is shaped and ready for use. The best time to haul depends on what the project needs next. Common Hauling Mistakes That Slow Down Projects Hauling problems often happen when material movement is treated as a detail instead of a planned part of the job. Common mistakes include: Ordering material before the site is ready to receive it Dumping gravel where equipment cannot spread it efficiently Delivering rock before drainage or grading is corrected Forgetting to haul brush, spoils, or debris away Not checking truck access before scheduling delivery Leaving concrete or asphalt debris in the work area Treating final cleanup as an afterthought Underestimating how much material needs to be moved Good hauling planning keeps the site cleaner and easier to work on.
July 7, 2026
Removing old concrete or asphalt is often only the first step. Once a slab, driveway, parking area, foundation, or paved surface is torn out, the site may still need debris hauling, grading, drainage correction, base prep, compaction, and cleanup before the next phase begins. Whether the goal is a new driveway, parking area, slab, building pad, gravel surface, or clean usable land, what happens after tear-out matters. This guide explains what property owners should expect after concrete or asphalt removal. Removal Reveals What Is Under the Surface Concrete and asphalt can hide the condition of the ground below. Once the surface is removed, the site may reveal weak base, soft ground, old fill, poor drainage, low spots, tree roots, broken material, or uneven subgrade. After tear-out, the site may need follow-up work such as: Debris hauling Base material removal or replacement Rough grading or leveling Drainage correction Soft spot repair Backfill or fill material Compaction Surface prep for concrete, asphalt, gravel, or parking use The old surface may be gone, but the site still needs to be prepared for what comes next. Broken Material Has to Be Hauled or Managed Concrete and asphalt tear-out creates heavy debris. That material needs to be moved, hauled, staged, or cleaned up so the site can be worked properly. Debris planning should consider: How much concrete or asphalt is being removed Whether there is rebar, base material, dirt, or mixed debris How trucks can access the removal area Where material can be staged during the job Whether additional debris or old material is found underneath What condition the site should be left in after removal Hauling and cleanup are a major part of making the site ready for grading, base prep, or future surface work. The Site May Need Grading After Removal Once the old surface is out, the exposed area may not be level, shaped, or ready for new material. Concrete and asphalt removal can leave rough edges, uneven base, low spots, and areas that need shaping. Grading after tear-out may help: Smooth the exposed area Correct low spots or high spots Shape the site for drainage Prepare the area for base material Match the new surface to surrounding grades Improve access and workability after removal Grading should be based on the next use of the area, not just the shape of the old surface. Drainage Should Be Reviewed Before Replacing the Surface If the old concrete or asphalt failed, drainage may have been part of the problem. Water that sits on the surface, runs across the driveway, or collects along edges can weaken the base and create repeated maintenance issues. Before installing a new surface, check: Did water collect on the old surface? Did the area hold water along edges or low spots? Did runoff cross the driveway or parking area? Are culverts, ditches, swales, or drains needed? Does the surrounding grade send water toward the surface? Will the new surface have a clear path for water to leave? Replacing a surface without correcting drainage can cause the same problems to return. Base Prep Comes Before the Next Surface The base under concrete, asphalt, gravel, or parking areas affects how the finished surface performs. After tear-out, the base may need to be removed, replaced, reshaped, stabilized, or compacted. Base prep may include: Removing weak or contaminated material Adding base rock, fill, or gravel Correcting soft spots Shaping the subgrade Compacting the base Preparing for concrete forms, asphalt, gravel, or surface installation Coordinating drainage with the base work A new surface should not be installed over an unstable or poorly drained base. What Happens Next Depends on the Future Use After concrete or asphalt is removed, the next step depends on what the property owner wants the area to become. If the goal is new concrete , the site may need grading, subgrade prep, base work, drainage correction, and compaction. If the goal is new asphalt , the area may need parking or driveway grading, base preparation, drainage planning, and compaction. If the goal is gravel access or parking , the site may need road base, rock spreading, drainage correction, and grading. If the goal is a building pad , the area may need excavation, fill, pad grading, base material, and compaction. If the goal is cleanup only , the site may still need debris hauling, rough grading, and final cleanup. Removal clears the way. Site prep determines whether the next phase starts correctly. Common Mistakes After Concrete or Asphalt Removal Tear-out projects can create problems when the next step is rushed. Common mistakes include: Removing the surface without planning debris hauling Installing new material over weak base Ignoring drainage problems that damaged the old surface Skipping grading after removal Leaving broken material or debris in the work area Not matching the new grade to nearby driveways, pads, or surfaces Pouring concrete or paving before the site is ready A clean removal should be followed by the right preparation for the next use.